Every scalable architecture needs to manage service discovery and application scaling. We accomplish this by utilizing the DR-CoN pattern (Docker-Registrator-Consul-Nginx) to load-balance web applications. Rerouting network traffic to healthy nodes and preventing applications from receiving too many requests are common needs for every infrastructure, and we can use this pattern to automate that process.
Our microservice architecture is built using Docker, and we use Nginx proxies to handle incoming traffic. This is a common setup for handling web requests with both technologies gaining in popularity. Internally, we also employ Hashicorp’s Consul as a service discovery application and key-value store, though it can also be used to provide DNS services. It can insert values into configuration files with Consul Template, and create dynamic policies and manage credentials with Vault.
To keep the infrastructure updated, services need to be automatically registered as soon as their Docker containers are available. Glider Labs’ Registrator will update Consul when they come up or go down, and Consul Template will execute user-provided commands when the template files have changed.
A Running Example
In the following example, we will manage a redundant configuration of scaled applications to handle load, or prevent an outage. To do this, we need to continually rewrite the Nginx configuration file, nginx.conf, to include all the routing information, then reload Nginx to configure one end-point for multiple services and provide load-balancing and high-availability.
To run this yourself, please check out a few files from GitHub. The Docker Compose file will create a cluster of five containers that will load balance two sample Todo web applications:
web1:
  build:
    context: https://github.com/RunnableDemo/node-starter.git
  ports:
    - "3000"
  links:
    - "db"
  environment:
    - MONGODB_HOST=db
    - SERVICE_NAME=web
The other services built are a Consul server, Registrator application, and an Nginx server that will also use Consul Template to populate the following template file:
upstream app {
  least_conn;
  {{range service "web"}}server {{.Address}}:{{.Port}} max_fails=3 fail_timeout=5s weight=1;
  {{else}}server 127.0.0.1:65535; # force a 502{{end}}
}

server {
  listen 80 default_server;

  location / {
    proxy_pass http://app;
    proxy_set_header X-Forwarded-For $proxy_add_x_forwarded_for;
    proxy_set_header Host $host;
    proxy_set_header X-Real-IP $remote_addr;
  }
}
The template file is based on the Go Template format used in the Go language, and will insert web applications with the service name “web”, configured in the Docker Compose file above, into a configuration readable by Nginx. This is configured with the following Consul Template command:
consul-template -consul=$CONSUL_URL -template="/templates/service.ctmpl:/etc/nginx/conf.d/service.conf:service nginx reload"
And the resulting Nginx configuration:
upstream app {
  least_conn;
  server 172.18.0.6:3000 max_fails=3 fail_timeout=5s weight=1;
  server 172.18.0.5:3000 max_fails=3 fail_timeout=5s weight=1;
}
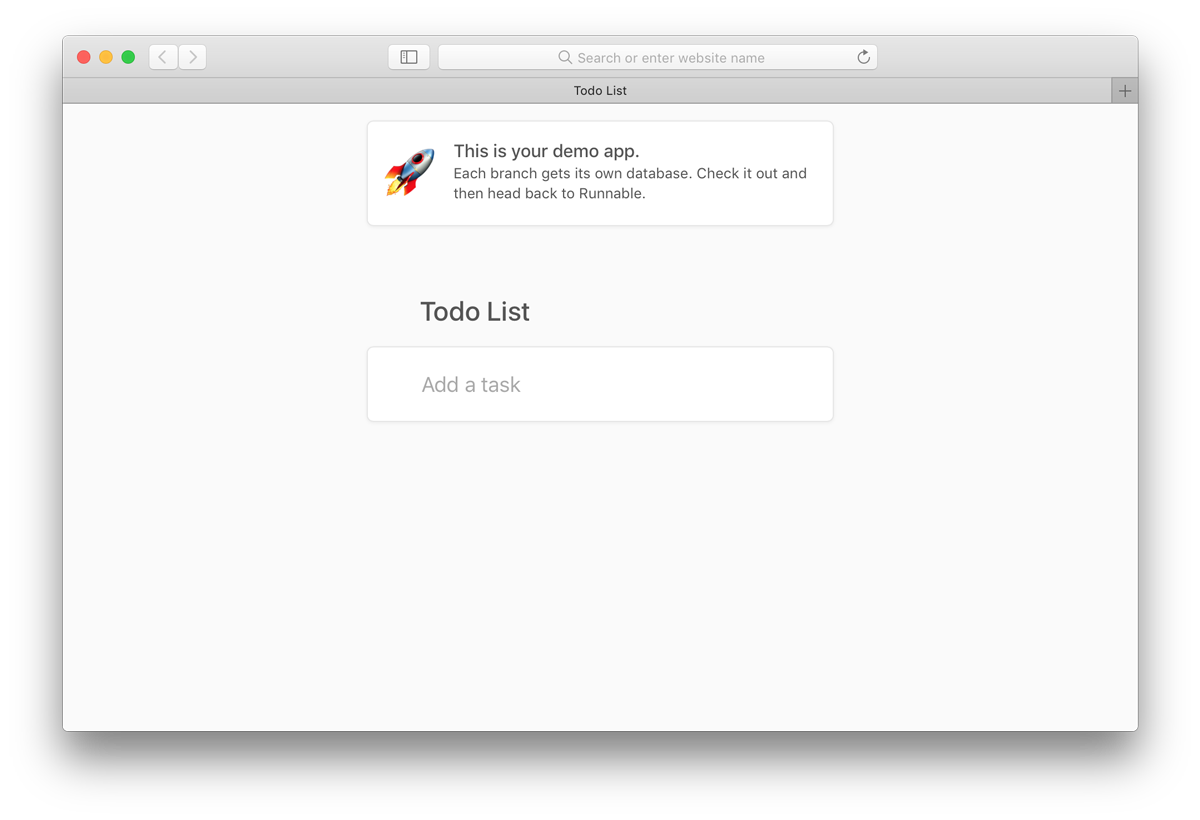
Now, when the web application containers are up and the server is running, we can visit the IP of our Docker host on port 80 and it will route us to our to-do application:

Let’s take one of our containers down:
docker stop *containerId*

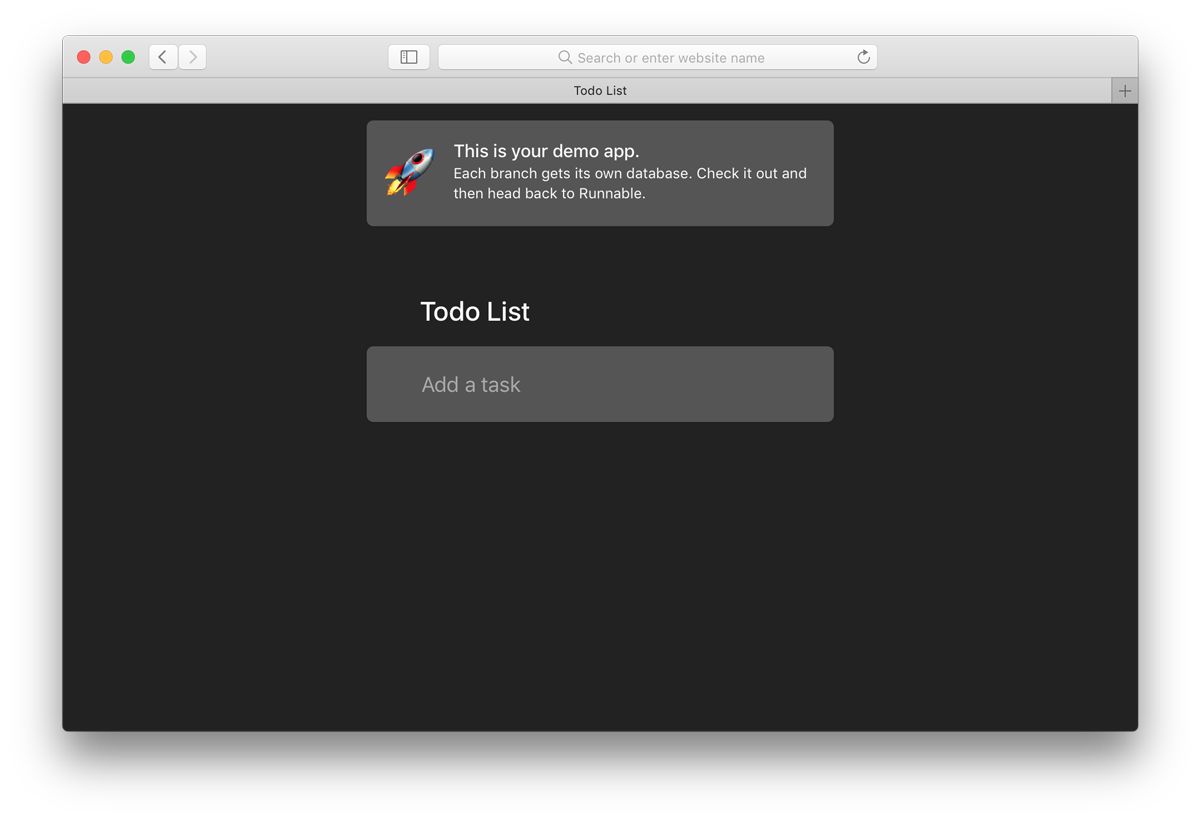
We can still navigate to the site because one of the containers is still running, and Consul has updated the Nginx config using Consul Template. Now, let’s take down the ‘dark-themed’ container, and we will see no response from server. We will bring up the first container using docker start *containerId* and now, when we navigate to that URL, we will see our application again.
Registrator updated Consul with the container once it came up, and we can now see our application because Nginx was re-configured using the Consul Template service.conf file in the conf.d directory with /etc/nginx. This configuration can also be used in conjunction with Consul health checks by querying those health check results at the consul-host/v1/health/service/:service endpoint to get the status of the nodes in the service:
[
  {
    "Node": {
      "Node": "779a2399de13",
      "Address": "127.0.0.1"
    },
    "Service": {
      "ID": "fc509009c31f:myapp_web1_1:3000",
      "Service": "web",
      "Tags": null,
      "Address": "172.18.0.6",
      "Port": 3000
    },
    "Checks": [
      {
        "Node": "779a2399de13",
        "CheckID": "serfHealth",
        "Name": "Serf Health Status",
        "Status": "passing",
        "Notes": "",
        "Output": "Agent alive and reachable",
        "ServiceID": "",
        "ServiceName": ""
      }
    ]
  }
]
With this information, we can create new nodes to minimize service outages by spinning up new containers.
Conclusion
This paradigm is useful for any developer or DevOps engineer that is considering their own implementation of a basic service discovery and scaling solution, as much has been already built out with these tools. This post and repo are broken out to show the different steps and parts of the configuration, but the setup is robust enough to accept changes without needing to abandon the structure. If your infrastructure is not containerized or you are not familiar with Docker and Docker Compose, clone the demo repo and type docker-compose up on any system with Docker installed to create the cluster.