HTTPS is an extremely important part of deploying applications to the web. It ensures encrypted transport of information between client and server. It can be complicated to set up, but Let’s Encrypt helps solve this problem by providing free SSL/TLS certificates and an API to generate these certificates. Kubernetes allows you to define your application runtime, networking, and allows you to define your infrastructure declaratively through code; making it easier to maintain, review, and share.
We’ll take a look at how to automatically generate SSL/TLS certificates (certs) for the domain used in your Kubernetes-hosted application. We’ll rely on Ingress controllers to route traffic to the domain, use jobs to generate the certs, and use secrets to store them. You can find all the code for this demo on GitHub. We’ll be diving into more advanced code, so before getting started, be sure to read about the basics of Kubernetes, kubectl, and have a cluster up and running.
Setting Up Our Application
To understand how we’re going to generate certificates and add HTTPS, we first need to understand how our application works. For this post, we’ll define an application that returns a 200 and a message when it receives an HTTP request. The first thing we’ll do is define our endpoint by creating a ConfigMap that stores our Nginx configuration. All this config does is respond to a request in port 80:
apiVersion: v1
kind: ConfigMap
metadata:
  name: nginx-config
data:
  default.conf: |
    server {
      listen 80;
      listen [::]:80;
      server_name  _;
      location / {
        add_header Content-Type text/plain; # Prevents download
        return 200 "Hello world! Kubernetes + Let's encrypt demo.";
      }
Next, we’ll create a deployment that runs an image of Nginx with the config we’ve created. The deployment mounts the config file as a volume through this ConfigMap.
apiVersion: extensions/v1beta1
kind: Deployment
metadata:
  labels:
    app: nginx
  name: nginx
spec:
  replicas: 1
  template:
    metadata:
      labels:
        app: nginx
    spec:
      containers:
      - name: nginx
        image: nginx
        ports:
        - containerPort: 80
        volumeMounts:
        - name: nginx-configs
          mountPath: /etc/nginx/conf.d
      # Load the configuration files for nginx
      volumes:
        - name: nginx-configs
          configMap:
            name: nginx-config
Finally, we’ll create a service to direct traffic to this deployment:
apiVersion: v1
kind: Service
metadata:
  name: nginx
spec:
  selector:
    app: nginx
  ports:
  - protocol: "TCP"
    port: 80
In order to test this, we can cURL the service from inside the container:
POD=$(kubectl get pods | grep nginx | awk '{print $1}')
kubectl exec $POD -it bash
apt-get update && apt-get install curl -qq -y # Terrible, I know
curl nginx # Name of the service
You should get the following response:
root@nginx-3659739084-tk6ng:/# curl nginx
Hello world! Kubernetes + Let's encrypt demo.
Setting Up Our Host Through Ingress
Now that our application is up and running, we can expose it to the internet. We’ll create an Ingress controller with the host we want to use. Here we’ll use kubernetes-letsencrypt.jorge.fail as our domain (great domain name, I know!), and redirect traffic for that host to our existing Nginx service.
apiVersion: extensions/v1beta1
kind: Ingress
metadata:
  name: "kubernetes-demo-app-ingress-service"
spec:
  rules:
  - host: kubernetes-letsencrypt.jorge.fail # CHANGE ME!
    http:
      paths:
      # The * is needed so that all traffic gets redirected to nginx
      - path: /*
        backend:
          serviceName: nginx
          servicePort: 80
Now that our Ingress is setup, we can look for the IP address for this Ingress controller by running a describe on our Ingres resource (kubectl describe ing kubernetes-demo-app-ingress-service). You’ll see the IP address for this Ingress in the “address” entry.
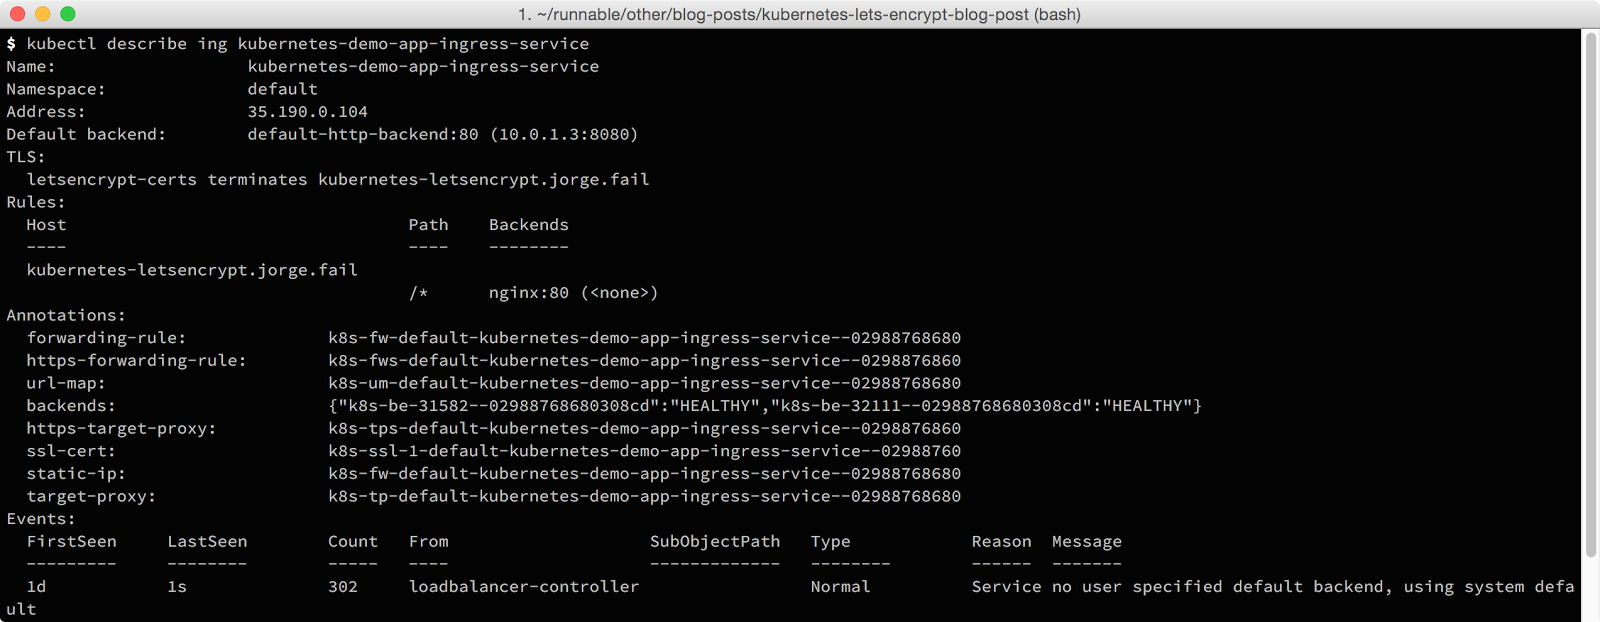
You can now add an A record for this IP address, or test it by adding the IP address and host to your /etc/hosts (if you’re using Minikube, this works automatically).If you’re using Google Cloud Platform (GCP) or AWS we’ll still need to add a couple of things to make this work.
Making Changes to Our Application for GCP/AWS
If you’re using GCP and try to access your host, you might get something like this:

A great way to debug some of these errors is by running a describe on your Ingress resource. The “Events” section will show you some of the problems with your Ingres controller:
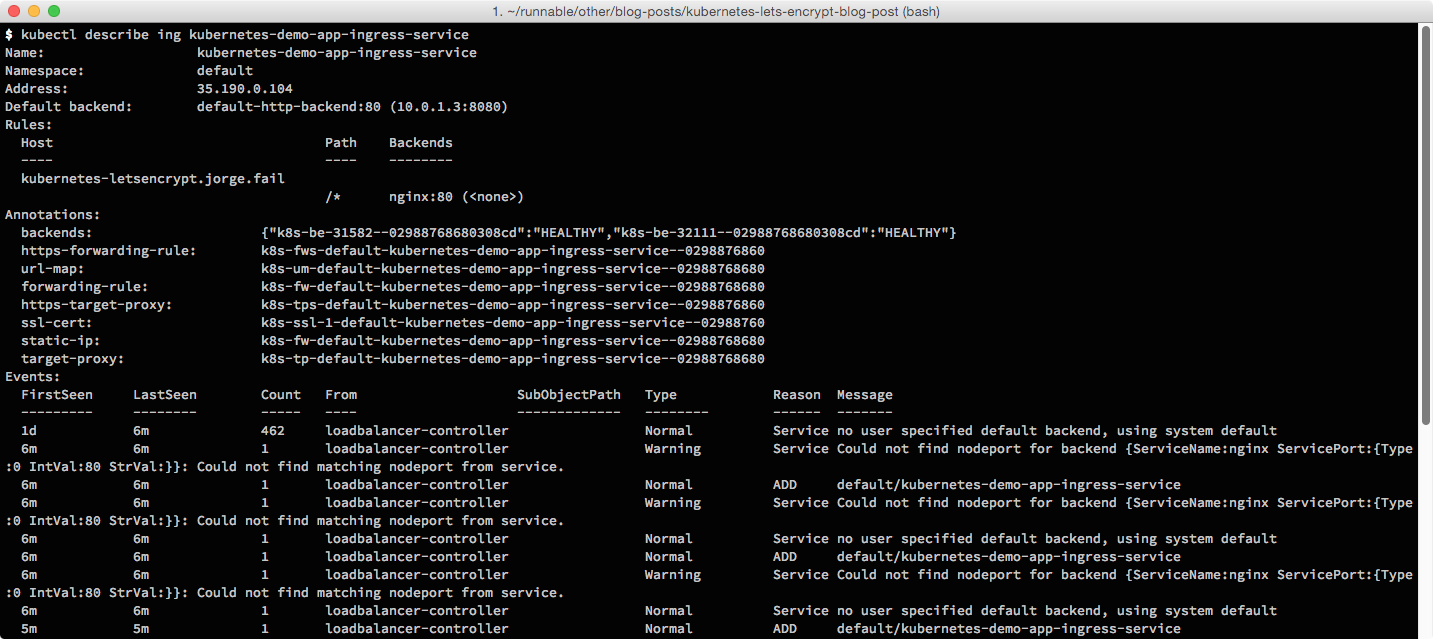
In order for our Ingress controller to work in the GCP Ingress controller, there are still two things we need to do: we need to add health checks to the Pod, and we need to add a Node port to the Nginx service.
The GCP will not route traffic if the Pod is unhealthy or its health status is unknown. So to verify that our Pod is healthy, we need to add a health route. We’ll do this through an HTTP GET request to / in order to assert that we get a 200 response.
apiVersion: extensions/v1beta1
kind: Deployment
metadata:
  name: nginx
spec:
    containers:
    - name: nginx
      # HTTP Health Check
      livenessProbe:
        httpGet:
          path: /
          port: 80
We’ll also need to expose a port in the host for our Ingress controller by making our Nginx service into a Node port service. The exposed Node port allows the Ingress controller to use a load balancer native to the provider (GCP, AWS); which runs outside the Kubernetes cluster.
apiVersion: v1
kind: Service
metadata:
  name: nginx
spec:
  type: NodePort
  ports:
  - protocol: "TCP"
    nodePort: 32111
    port: 80
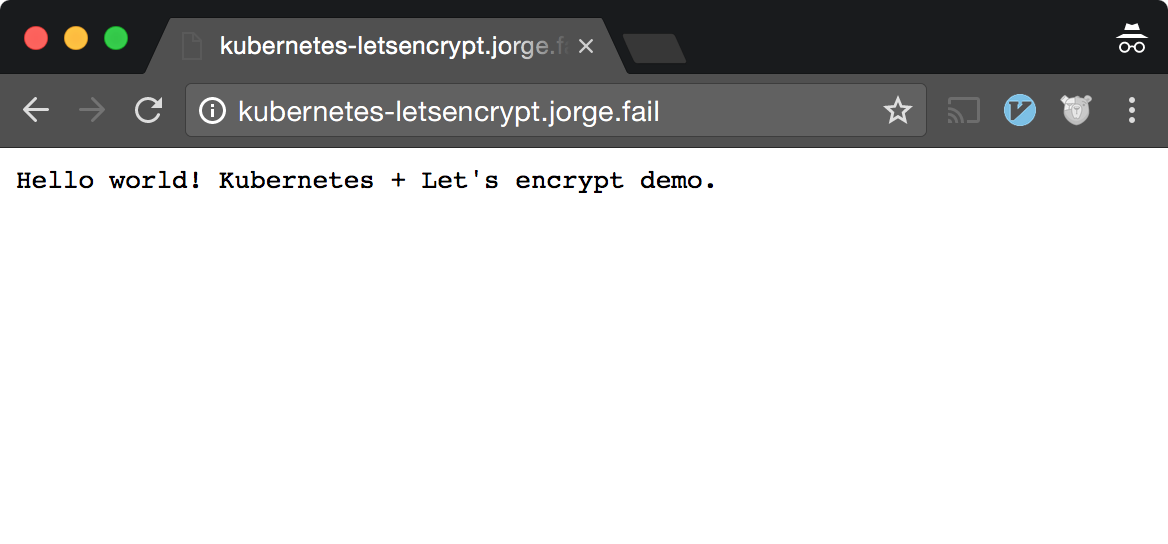
You should now be able to (finally) go to your service over the internet and get back a correct response.
Generating Certs
Now that our application is running and the DNS for it is correctly set up, it’s time to actually create some certificates. First, we’ll create a job in our cluster that uses an image to run a shell script. The script will spin up an HTTP service, create the certs, and save them into a predefined secret. Your domain and email are environment variables, so be sure to fill those in:
apiVersion: batch/v1
kind: Job
metadata:
  name: letsencrypt-job
  labels:
    app: letsencrypt
spec:
  template:
    metadata:
      name: letsencrypt
      labels:
        app: letsencrypt
    spec:
      containers:
      # Bash script that starts an http server and launches certbot
      # Fork of github.com/sjenning/kube-nginx-letsencrypt
      - image: quay.io/hiphipjorge/kube-nginx-letsencrypt:latest
        name: letsencrypt
        imagePullPolicy: Always
        ports:
        - name: letsencrypt
          containerPort: 80
        env:
        - name: DOMAINS
          value: kubernetes-letsencrypt.jorge.fail # Domain you want to use. CHANGE ME!
        - name: EMAIL
          value: jorge@runnable.com # Your email. CHANGE ME!
        - name: SECRET
          value: letsencrypt-certs
      restartPolicy: Never
Now that we have a job running, we can create a service to direct traffic to this job:
apiVersion: v1
kind: Service
metadata:
  name: letsencrypt
spec:
  selector:
    app: letsencrypt
  ports:
  - protocol: "TCP"
    port: 80
This job will now be able to run, but we still have three things we need to do before our job actually succeeds and we’re able to access our service over HTTPs.
First, we need to create a secret for the job to actually update and store our certs. Since we don’t have any certs when we create the secret, the secret will just start empty.
apiVersion: v1
kind: Secret
metadata:
  name: letsencrypt-certs
type: Opaque
# Create an empty secret (with no data) in order for the update to work
Second, we’ll have to add the secret to the Ingress controller in order for it to fetch the certs. Remember that it is the Ingress controller that knows about our host, which is why our certs need to be specified here. The addition of our secret to the Ingress controller will look something like this:
apiVersion: extensions/v1beta1
kind: Ingress
metadata:
  name: "kubernetes-demo-app-ingress-service"
spec:
  tls:
  - hosts:
    - kubernetes-letsencrypt.jorge.fail # Your host. CHANGE ME
    secretName: letsencrypt-certs # Name of the secret
  rules:
Finally we have to redirect traffic through the host, down to the job, through our Nginx deployment. In order to do that we’ll add a new route and an upstream to our Nginx configuration: This could be done through the Ingress controller by adding a /.well-known/* entry and redirecting it to the letsencrypt service. That’s more complex because we would also have to add a health route to the job, so instead we’ll just redirect traffic through the Nginx deployment:
apiVersion: v1
kind: ConfigMap
metadata:
  name: nginx-config
data:
  default.conf: |
    # Add upstream for letsencrypt job
    upstream letsencrypt {
      server letsencrypt:80 max_fails=0 fail_timeout=1s;
    }

    server {
      listen 80;
      # Redirect all traffic in /.well-known/ to letsencrypt
      location ^~ /.well-known/acme-challenge/ {
        proxy_pass http://letsencrypt;
      }
    }
After you apply all these changes, destroy your Nginx Pod(s) in order to make sure that the ConfigMap gets updated correctly in the new Pods:
kubectl get pods | grep ngi | awk '{print $1}' | xargs kubectl delete pods
Making Sure It Works
In order to verify that this works, we should make sure the job actually succeeded. We can do this by getting the job through kubectl or by checking the Kubernetes dashboard.
$ kubectl get job letsencrypt-job
NAME              DESIRED   SUCCESSFUL   AGE
letsencrypt-job   1         1            1d
We can also check the secret to make sure the certs have been properly populated. Again, we can do this through kubectl or through the dashboard:
$ kubectl describe secret letsencrypt-certs
Name:   letsencrypt-certs
Namespace:  default
Labels:   <none>
Annotations:
Type:   Opaque

Data
====
tls.crt:  3493 bytes
tls.key:  1704 bytes
Now that we can see that the certs have been successfully created, we can do the very last step in this whole process. For the Ingress controller to pick up the change in the secret (from having no data to having the certs), we need to update it so it gets reloaded. In order to do that, we’ll just add a timestamp as a label to the Ingress controller:
apiVersion: extensions/v1beta1
kind: Ingress
metadata:
  name: "kubernetes-demo-app-ingress-service"
  labels:
    # Timestamp used in order to force reload of the secret
    last_updated: "1494099933"
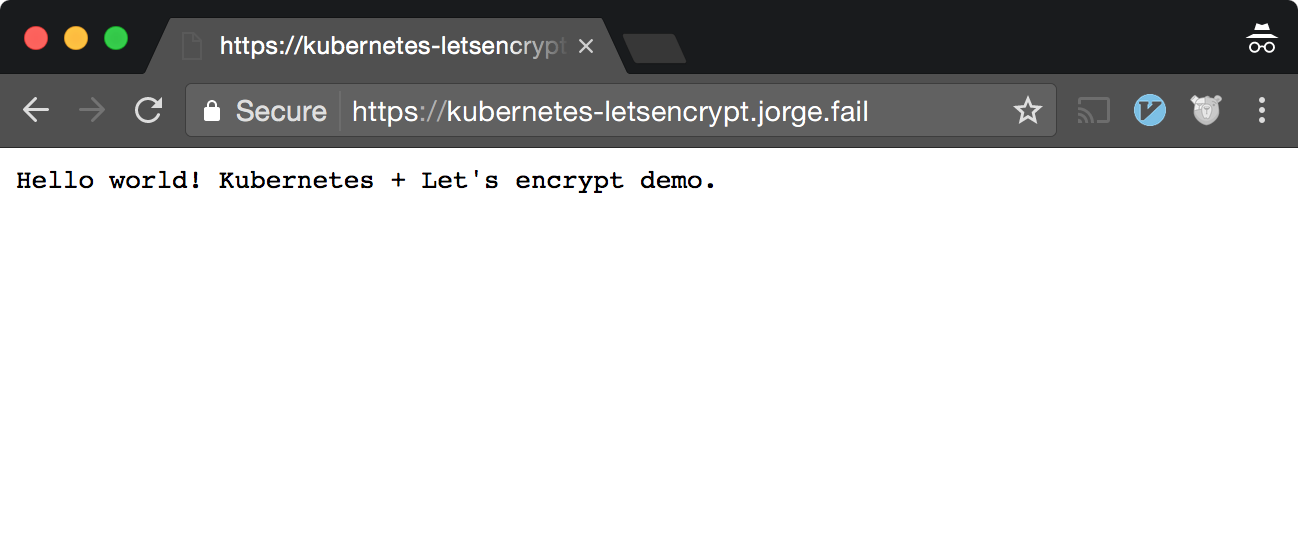
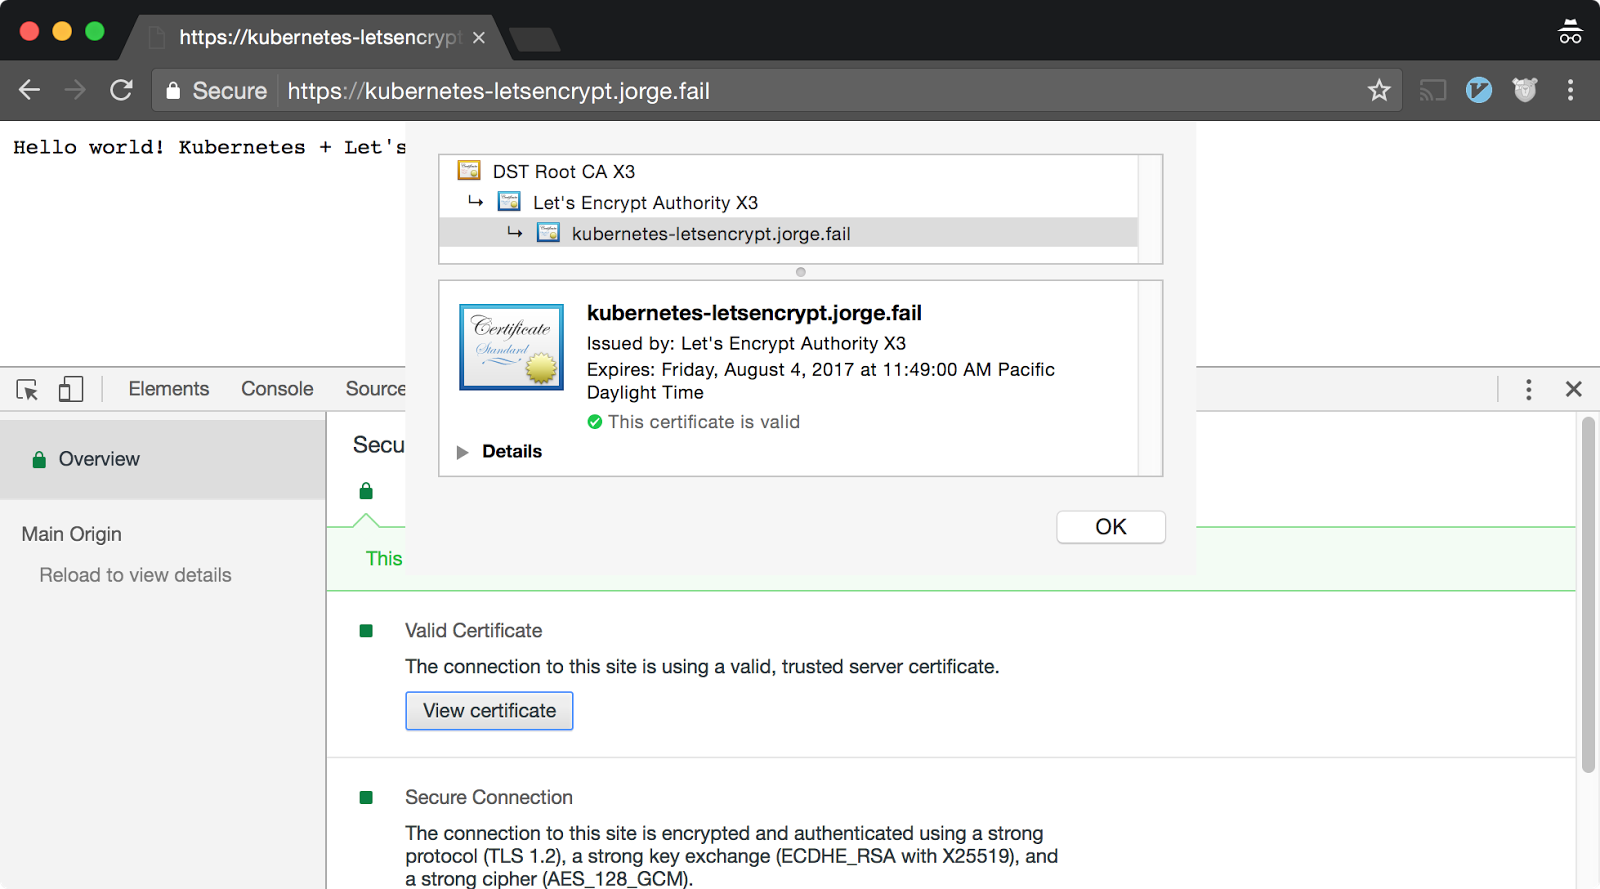
After doing this, you can now access your page through HTTPS!
Conclusion
Now, you have an idea of how Ingress controllers, services, deployments, and jobs interact with each other. You also know how SSL/TLS fits into the Kubernetes model, and how to leverage Let’s Encrypt to automatically generate SSL/TLS certs for your site. I hope you can take these practices further to make your applications easier to manage and more secure. If you want to take a look at a project that simplifies this process, you should check out Kube-Lego.